Showing posts with label tutorial. Show all posts

Monday, January 23, 2012

Stamp carving tutorial

IF your creative juices are running and you are looking for fairly simple craft idea, then I have found a simple tutorial you might like.


source


These clever little stamps are made by carving an eraser.


Head over to Ishtar olivera  for the full tutorial.


I am hoping to give it a go, if I can lay my hands on a lino tool.

Wednesday, December 1, 2010

Hessian Obsession leads to Burlap heart card wreath tutorial.

I have been thinking about all of those Christmas cards that will soon be flooding in.
With 3 Primary School age children, we always have a plethora.
So I combined my current obsession with Hessian
(pardon the rhyme)
with wire. 


The teacher part of me loves a tutorial
So, if you are in for the ride, 
I would suggest a cuppa,
this could be a long one!

If you want to have a go at making one. It is so simple and will just take a few minutes.


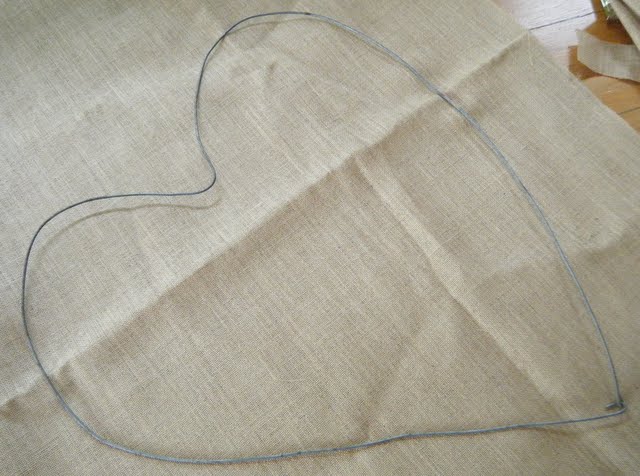
Firstly bend some wire into a heart or whatever shape you like.


I chose to make two for some extra hanging room.


Make a hook and eye type arrangement at the bottom of the heart.


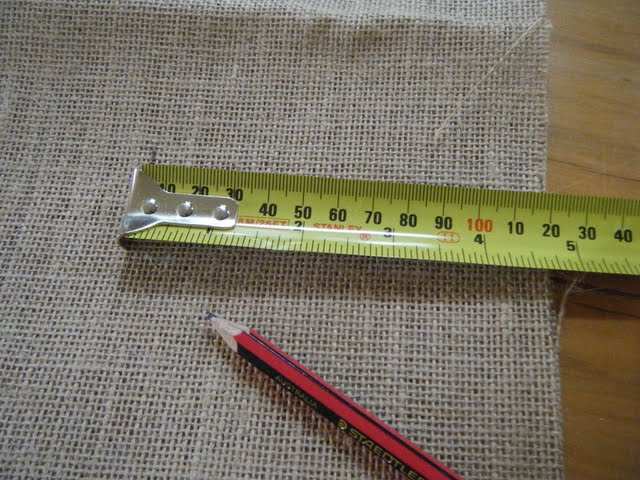
I used  2 metre lengths of hessian.
Cut into 12cm strips.


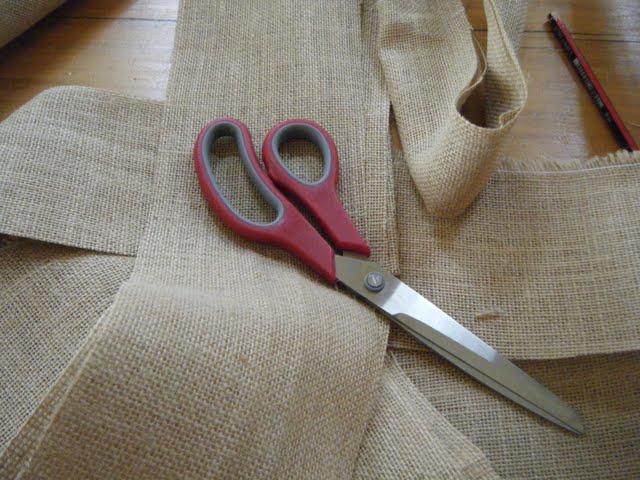
I folded them in half and zoomed along them with the sewing machine.


My able assistant Miss B then fringed them for me.


And we threaded them onto the wire.
It took 3 lengths of 2 metres each for sufficient ruffleness.  I didn't bother with any joins.


Then my able assistant modelled the creation for me.
While I dusted a million pieces of hessian off me.

We popped on a few test cards.


Then decided to add the second smaller heart in anticipation of much postal and playground love.


I think the strips could be wider for more pegging space.
It could also look romantic in a gauzy white fabric.

Linking in here

Wednesday, October 27, 2010

String ball tutorial.


The easiest little balls to make.


Just blow up some balloons. Make sure they are the round ones.


Spray on a little oil to stop the string sticking too much.


Then choose your favourite string or twine.


Wind some off the ball and soak it in some wallpaper paste. 
You may need to wear gloves.
I actually used celmix which is similar to wall paper paste, it's a non toxic children's paste used in kindergarten.


Tie your string to the knot on the balloon to secure it.


Wind away.


Wind as much or as little string as you like.
The more string, the more dense the ball will be.
Don't worry if you run out of string. I didn't bother joining more I just started with a fresh string and it glued itself in place.


Leave to dry.
This is the hard part. I am very impatient and ended up putting them by the fire to dry faster.


When the string is dry. Cut the knot to free the string. Poke them with a sharp implement to pop the balloon and pull it out.


Pop them in a bowl and admire!

If you do have a go, I would love to hear how you got on.

Linking up here
and here